


Hack the LAMPSecurity: CTF 7 (CTF Challenge)
- Aryan Ahirwar
- Aug 8, 2016
- 2 min read

Hello friends! Today we are going to take another CTF challenge known as LAMPSecurity CTF7 and it is another boot2root challenge provided for practice and its security level is for the beginners. So let’s try to break through it. But before please note that you can download it from here https://www.vulnhub.com/entry/lampsecurity-ctf7,86/
Penetrating Methodologies
Network Scanning (Nmap)
Login form SQL injection
Upload php web shell
Spawn TTY shell (Netcat)
Mysql Login
Steal MD5 password
Crack MD5 hashes (John the ripper)
SSH login
Sudo privilege escalation
Get root access
Walkthrough
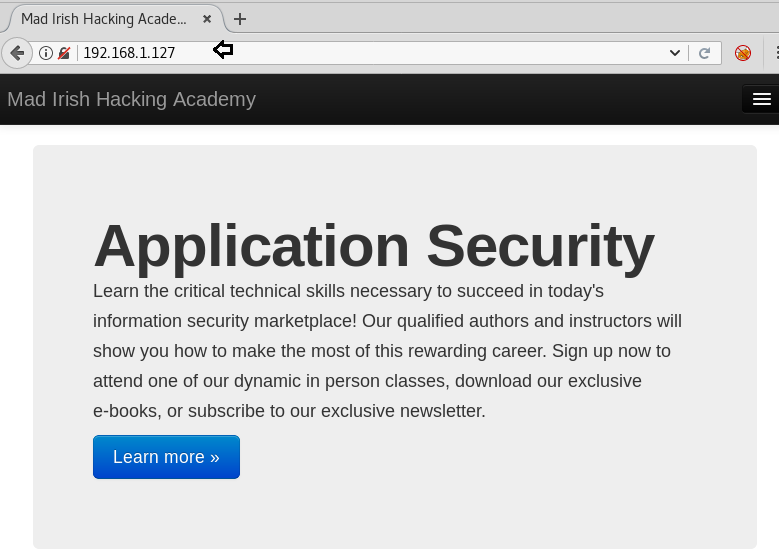
We found our target –> 192.168.1.127
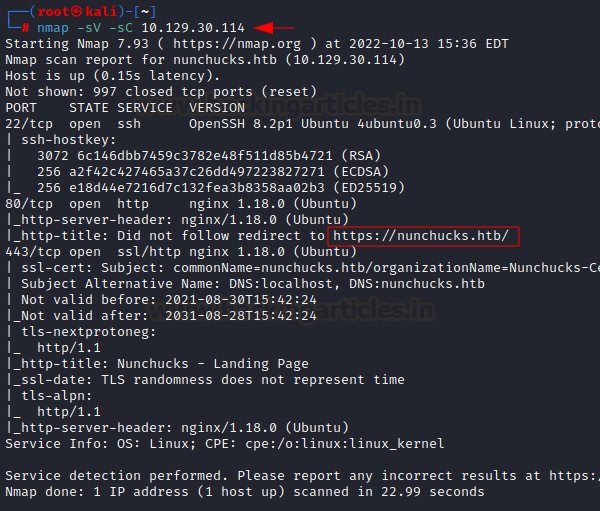
Our next step is to scan our target with NMAP.
nmap -Pn -sV 192.168.1.127
As we can observe there are so many ports are open but here three ports 80, 8080 and 10000 are available for HTTP. When we navigated to the URL http://192.168.1.127 and we were greeted with a Welcome page
On exploring port 8080 we found a login page for the admin account.

As we don’t know the login credential, so I tried SQL injection both text filed for username and password.

Boom!! Here we got admin dashboard access, let’s explore more.

We can add new reading content for the reader, click on the Add new tab to edit your content for reading.

Then we have uploaded php web shell present at /usr/share/webshells/php in order to compromise the web application. In the background, we have launched netcat listener 1234 to access the TTY shell of the victim’s VM.

Since I don’t know the directory where our uploaded file is stored, therefore, I run dirb for enumerating web directories.
dirb http://192.168.1.127
When I navigate for the directory /assets, here I got my uploaded web shell. As we knew, netcat is ready to catch the victim’s shell as soon as we will execute our php file.

Great!! We got the netcat session, now enter below command to obtain proper terminal of the target machine.
python -c 'import pty; pty.spawn("/bin/bash")'As we have enumerated above, the MySQL is running, then with the default credential user: root and password: blank we login successfully into the MySQL database.
mysql -u root
show databases;
show tables;
select username,password from users;
Hence from inside user tables, we have found all MD5 hashes of the password.

I saved all hashes into a text file named “hashes” and use john the ripper for cracking the password.
john -w=/usr/share/wordlists/rockyou.txt -form=raw-md5 hashesAwesome, it works and got decrypted password, now let’s try username as brain and password as madrid for the ssh login.

So when tried brain:madrid for ssh login, we login successfully, then we check sudo right for him. Luckily found brain is the part of sudo member and able to perform root level task. To access root privilege to complete the challenge run following command.
ssh brain@192.168.1.127
sudo -l
sudo su
Yuppie!! We finished this challenge.

Author: Deepanshu is a Certified Ethical Hacker and a budding Security researcher. Contact here.


Comments